How to copy per-user file to all users under system account?
If you are an application packager or IT pro who has found yourself in a situation where you need to copy a file in a per-user location to hundreds or thousands of target devices and wonder what is the best way how to do it, then this is a read for you.
Things to remember when copying files in per-user locations (if you are not using Master Packager software)
- Package must support system context installation for deployment via SCCM or Intune
- For applications without shortcuts, MSI “self-heal” or advertised shortcut mechanism will not work
- It is not good practice to use Active Setup as it is not supported by Microsoft
- More you can read in this blog post: https://www.wpninjas.ch/2018/07/active-setup-is-not-supported-for-custom-use-active-setup-entries-lost-during-windows-10-inplace-upgrade/
- If MSI self-heal is used using advertised shortcuts then on first launch MSI will start to repair, that for larger MSI can take a long time and is not the best user experience
- Do not forget to copy the target file under the default profile (C:\Users\Default) so that newly created users also receive the files
What is the best way of copying files to per-user locations?
Use Master Packager.
In this example, we will show you how to copy Microsoft Team background to all users in their per-user location under the SYSTEM account that SCCM and Intune uses.
-
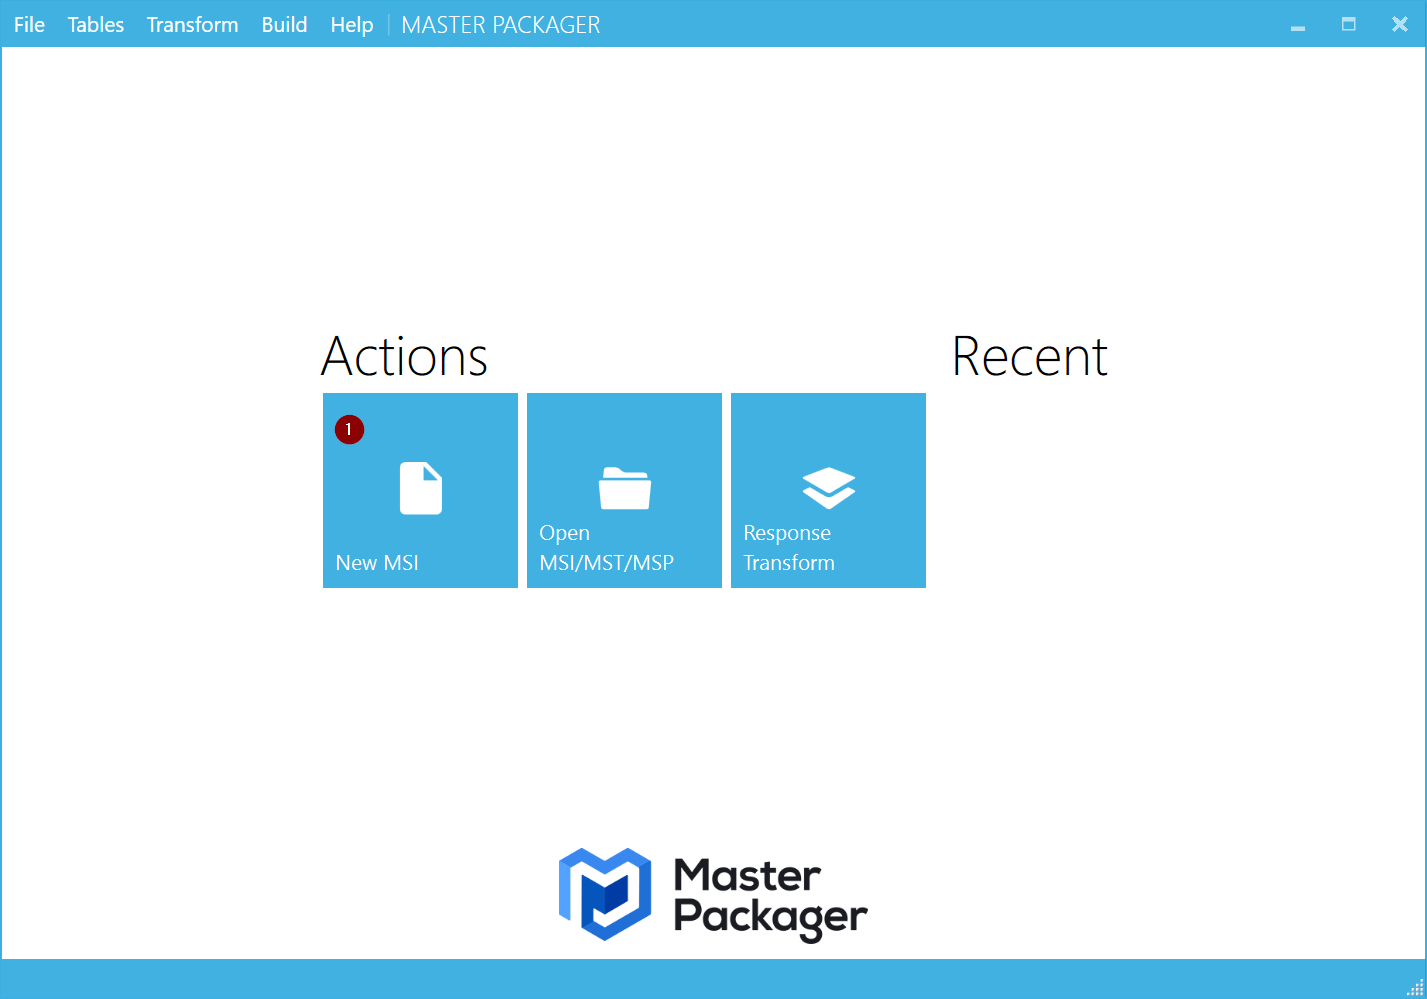
Download Master Packager and start it. Choose New MSI.
-
In General Information add application name, version, and vendor.
-
Make the add/remove programs appealing for the end-user and add Microsoft Teams icon for the MSI. Find Microsoft Teams icon here: “%localappdata%\Microsoft\Teams\app.ico”.
Then click on “Change” button, browse for the ico file.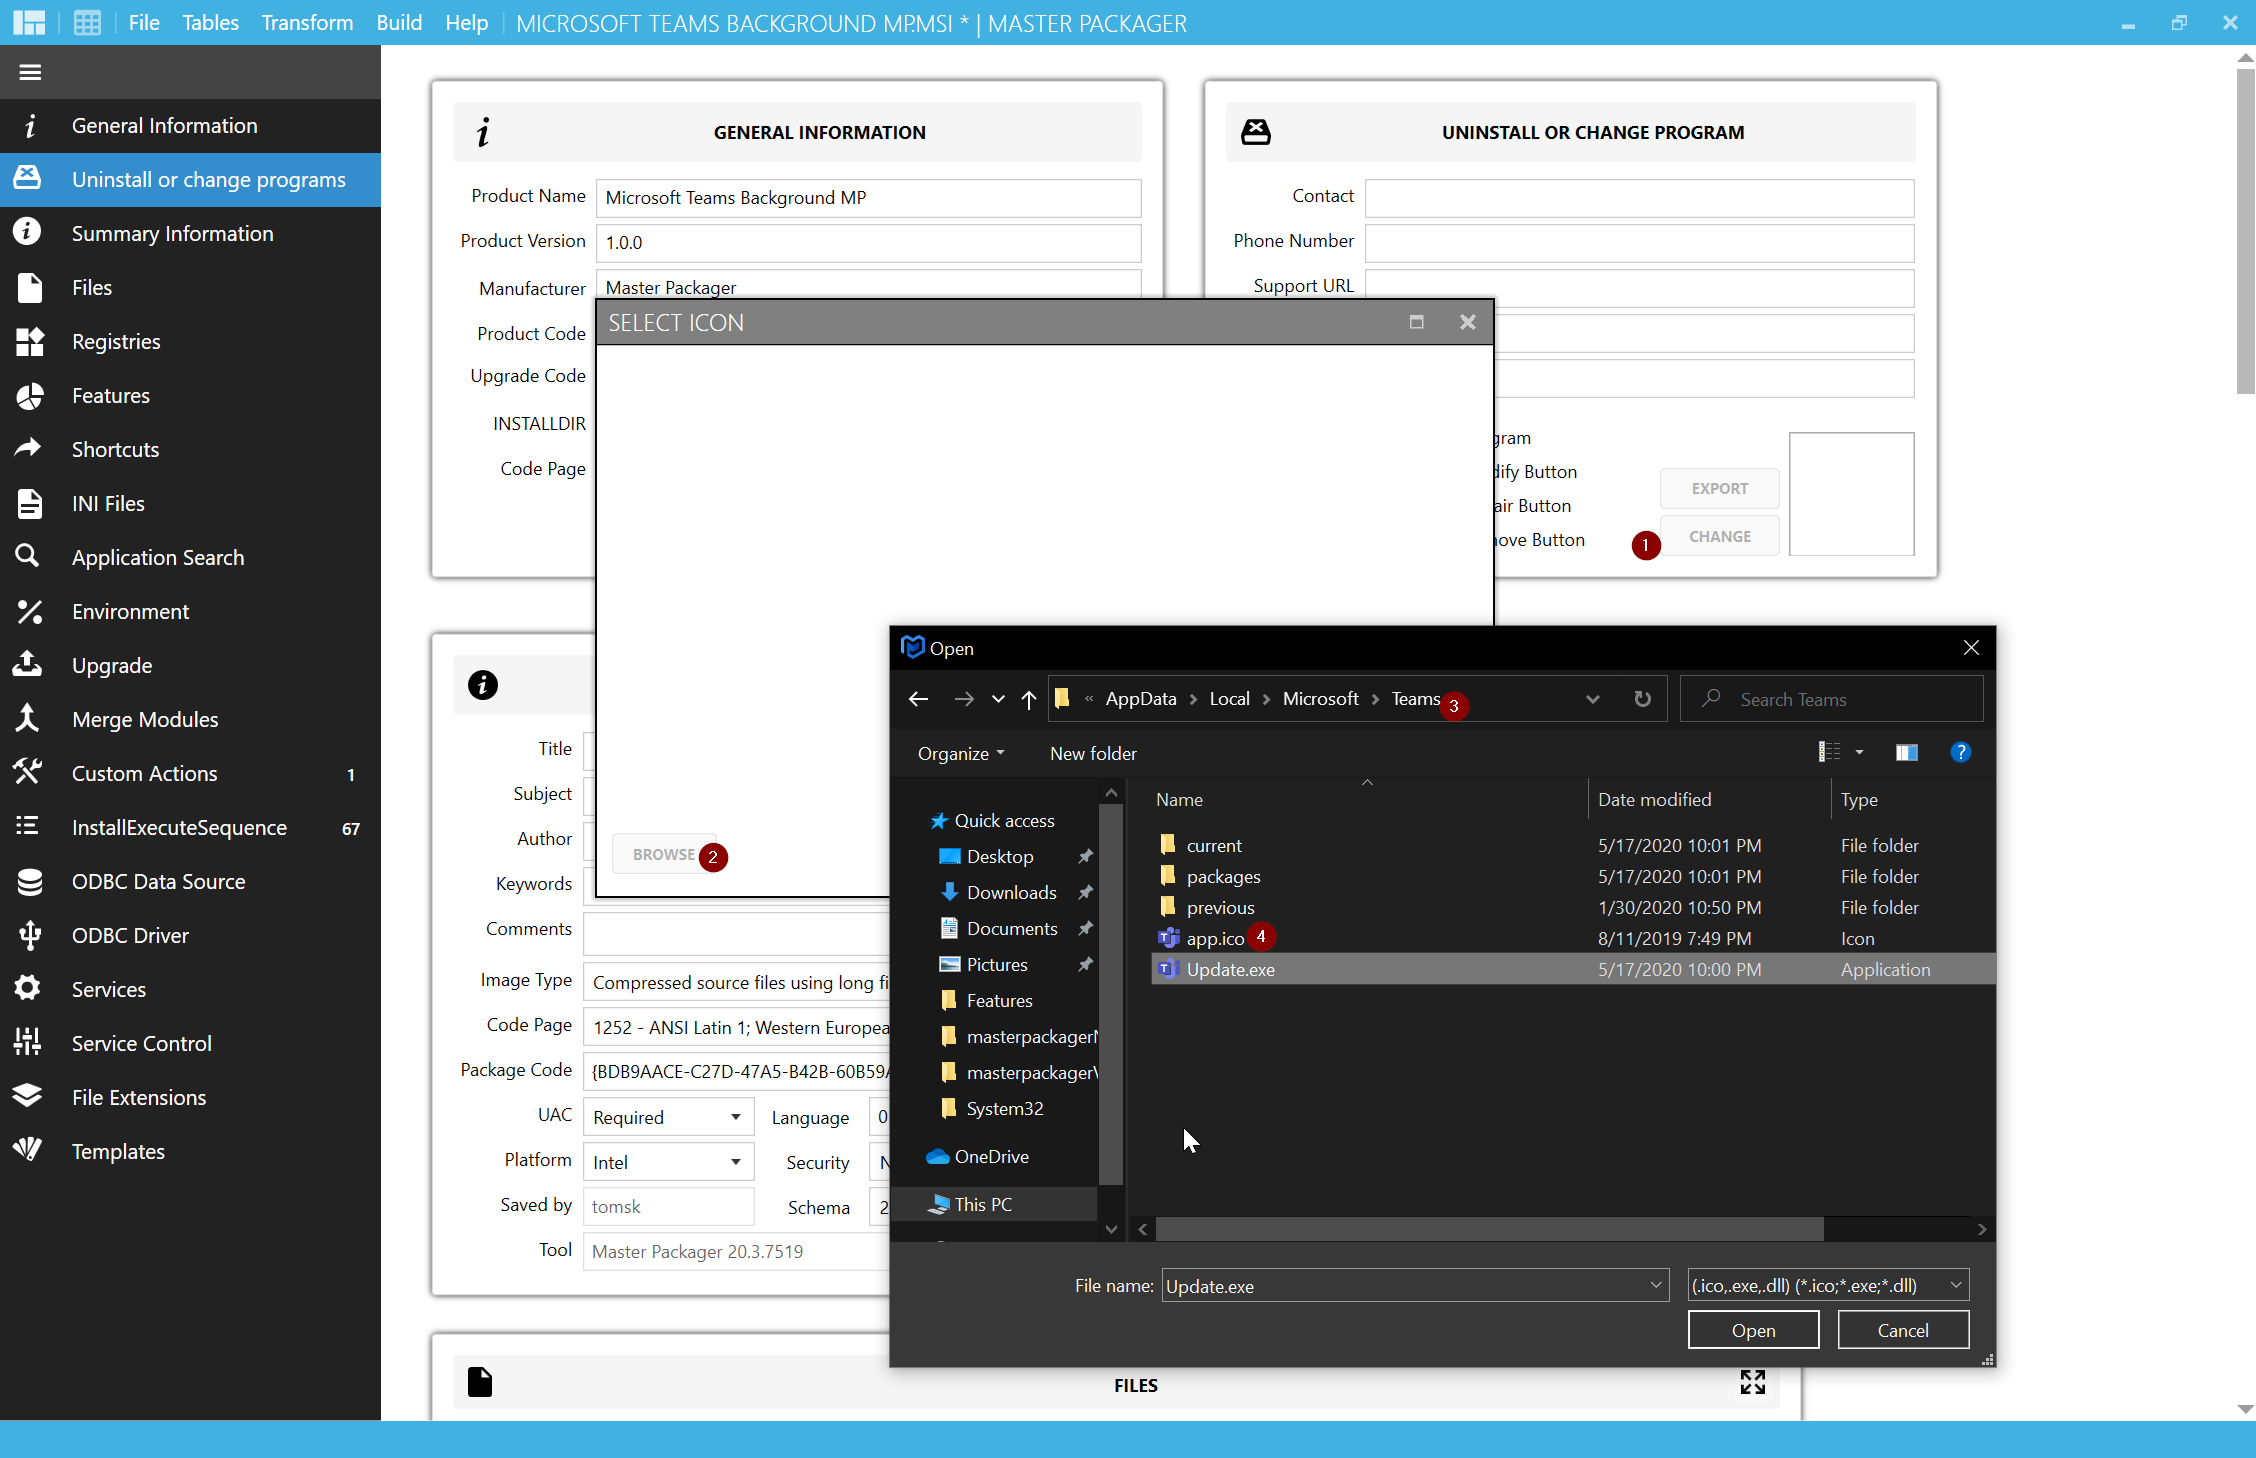
Pro tip! You can also choose exe or dll that contains icons to load them. -
Get your file that you want to copy in a per-user location. In our example, it will be a custom Microsoft Teams background image.
-
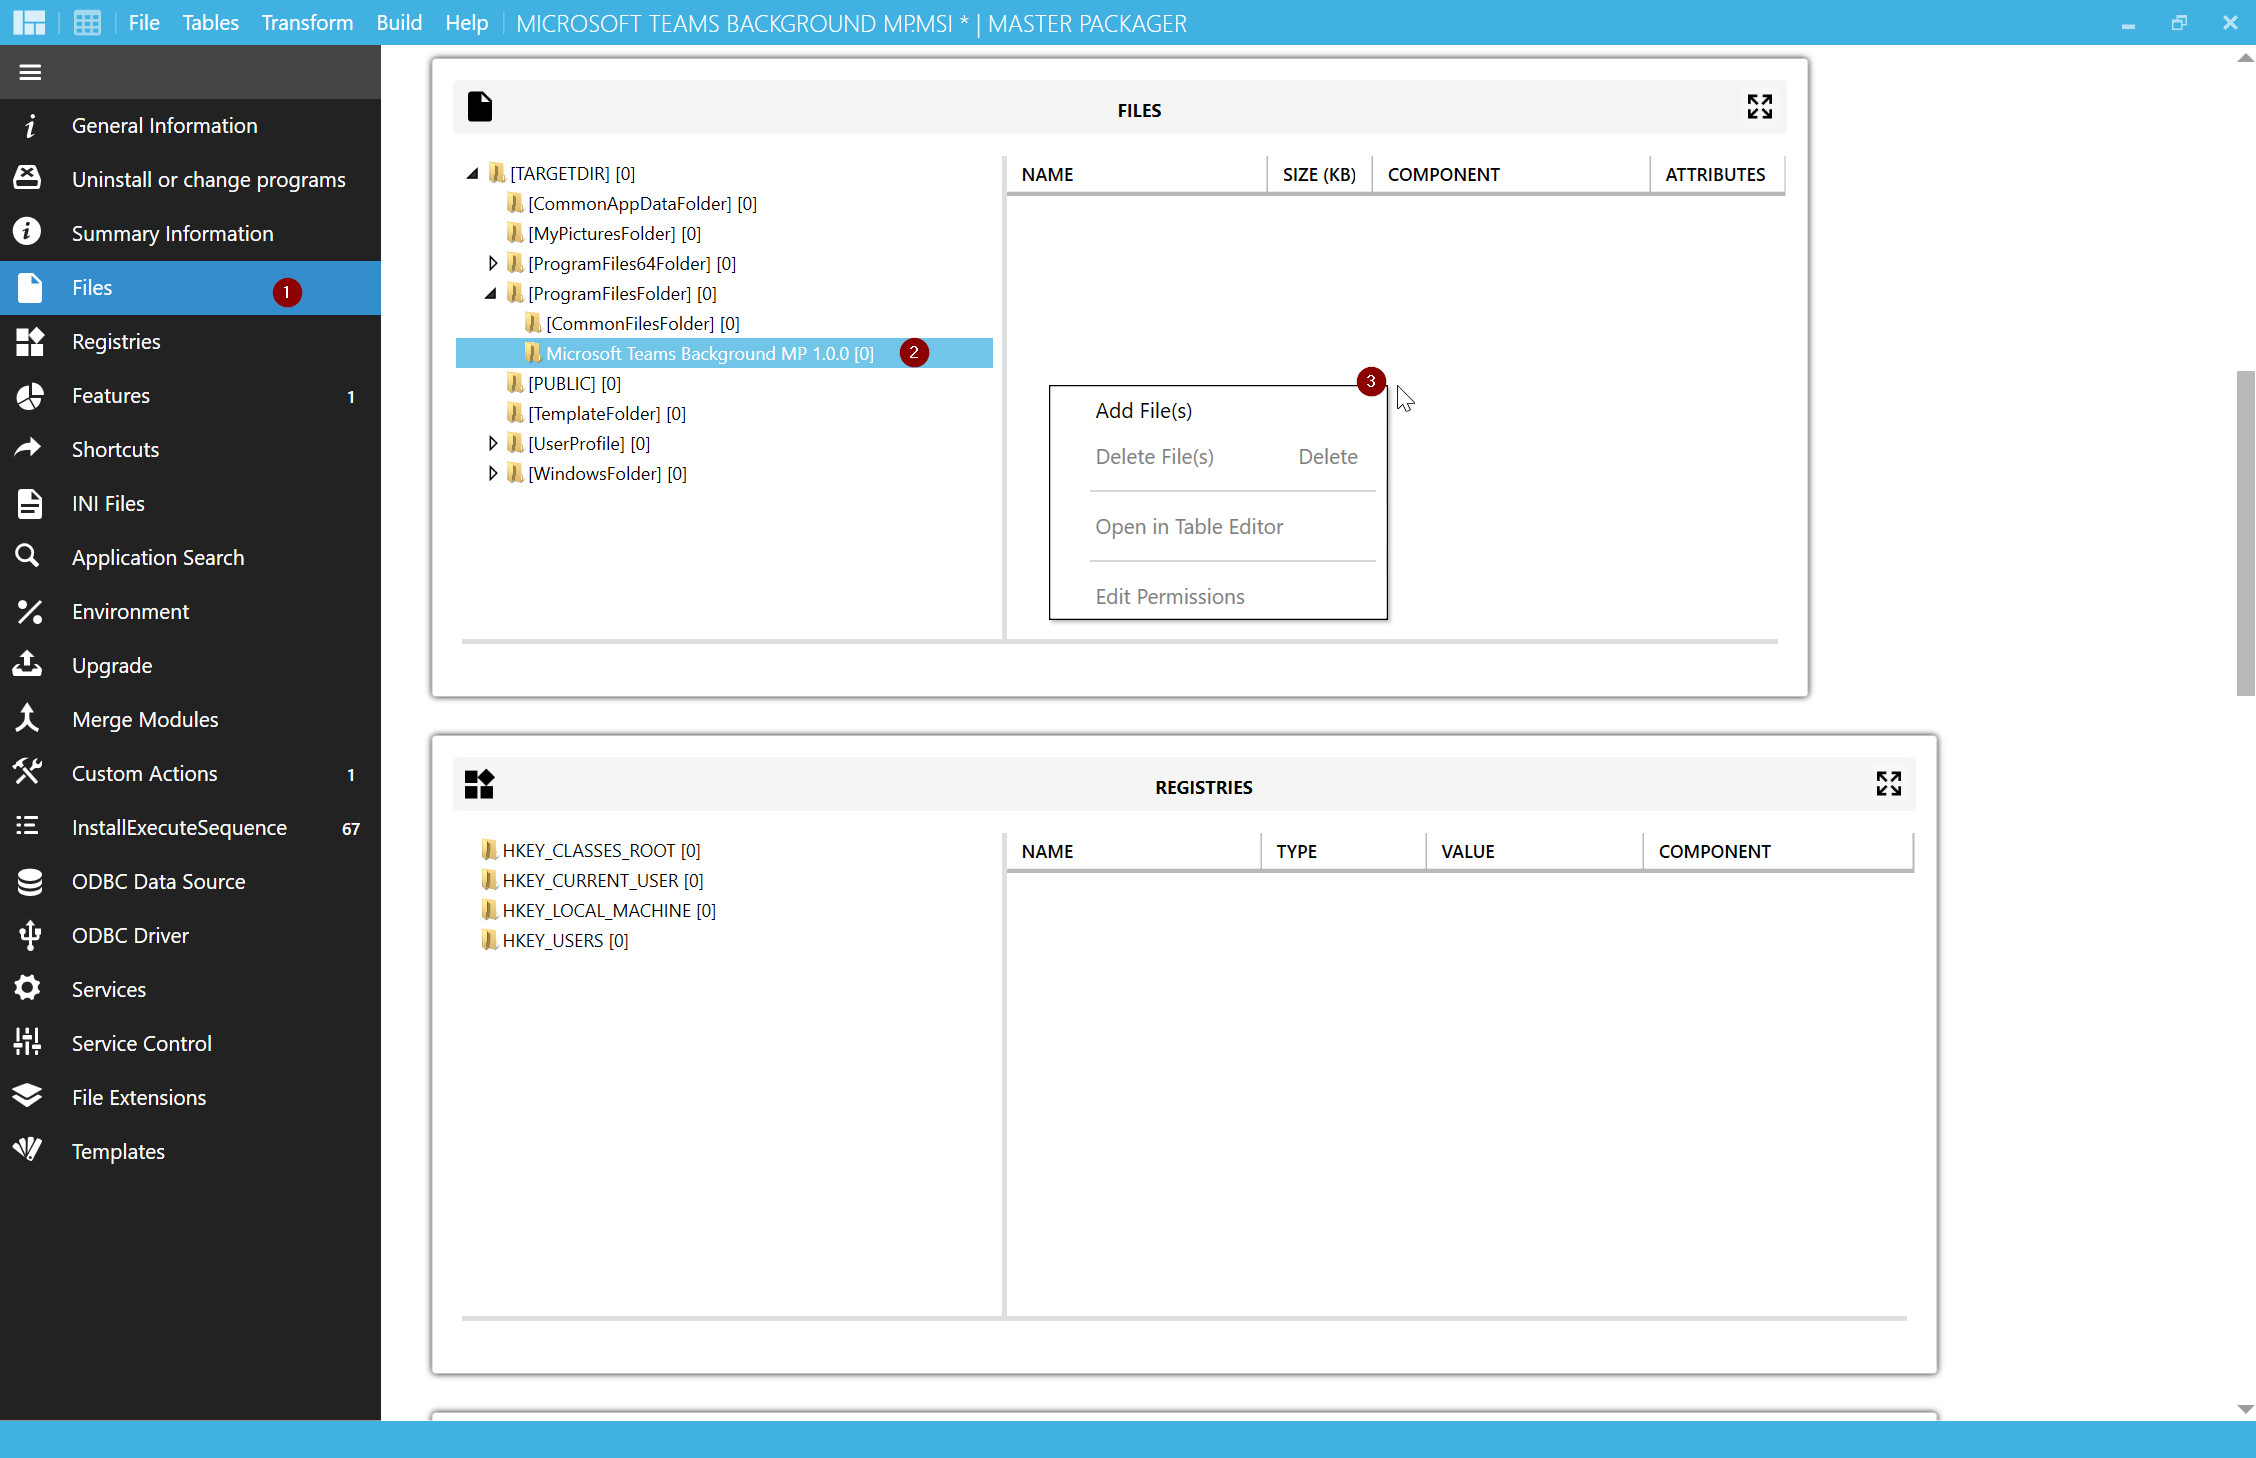
Create a new folder under [ProgramFilesFolder] where to place the file.
-
Right-click and press add a file or even better - drag and drop a file into the folder.
-
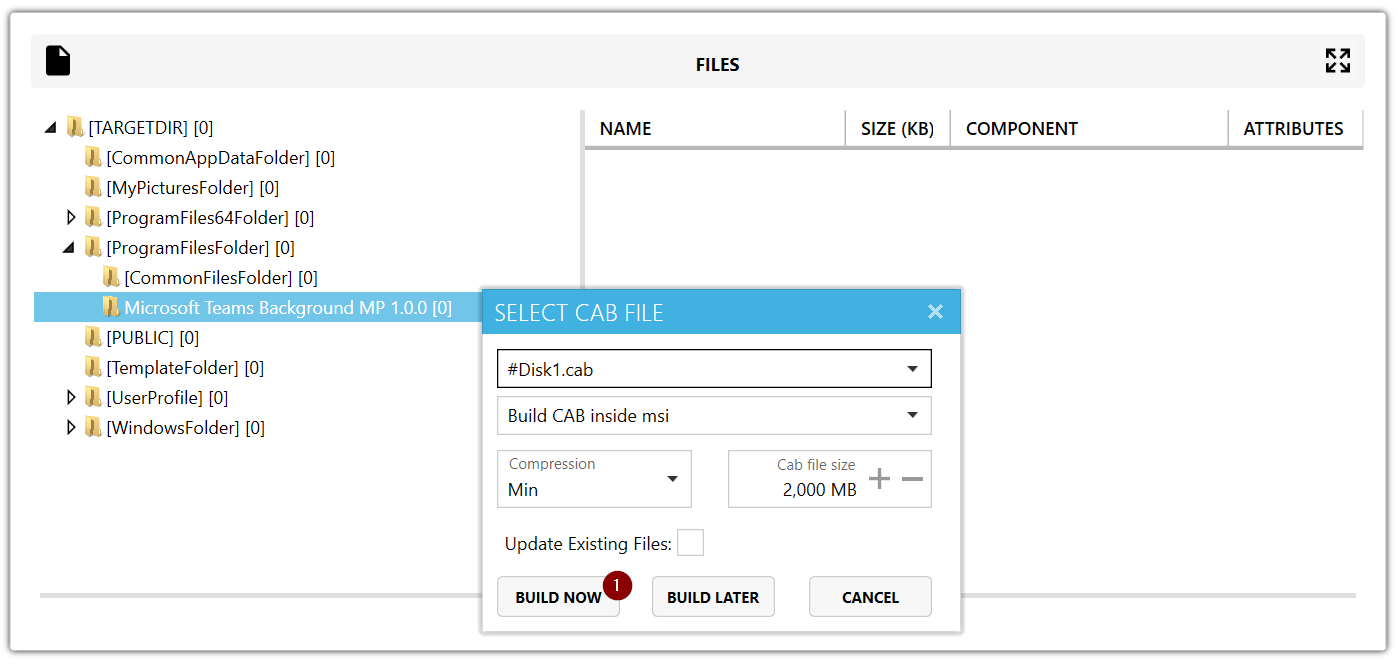
Build now.
-
Now the fun part. Add the predefined custom action that will do all the magic.
-
Go to the Custom Actions menu and press the pencil icon
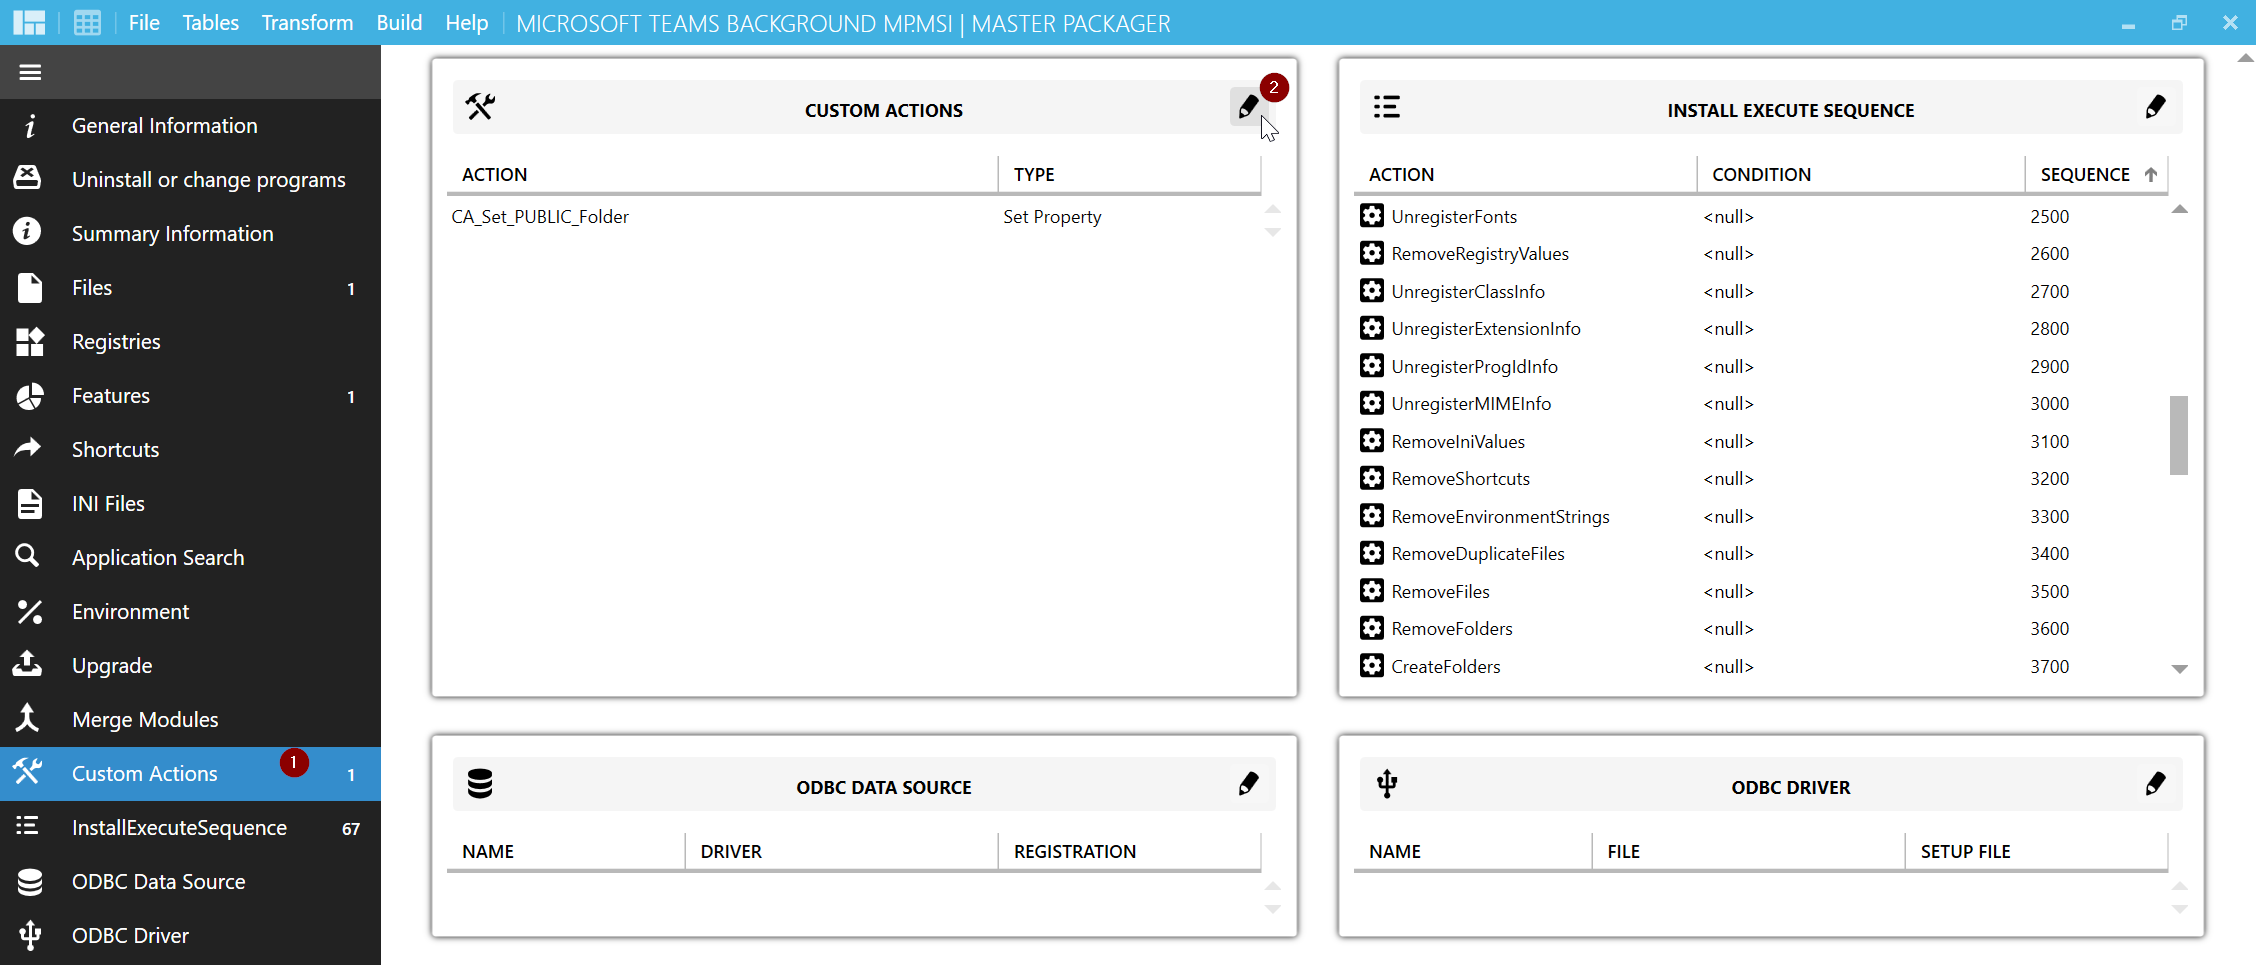
-
Click on the Predefined Action tab and then press “Add new predefined Action"
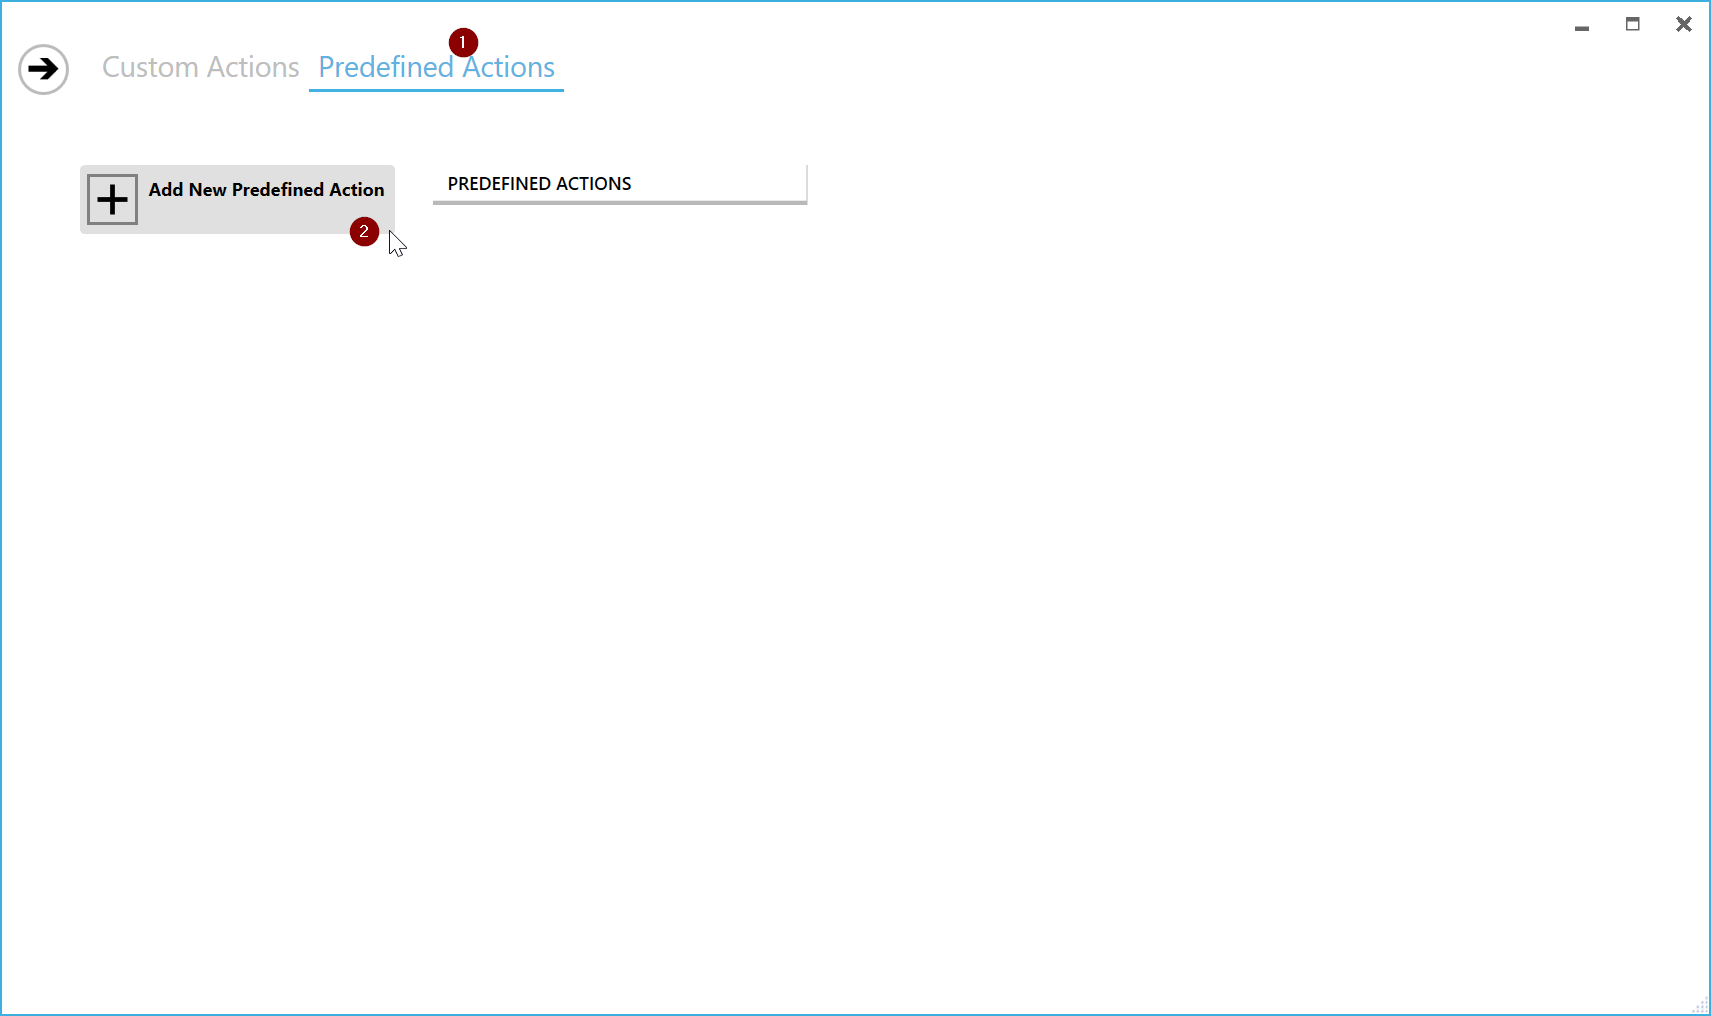
-
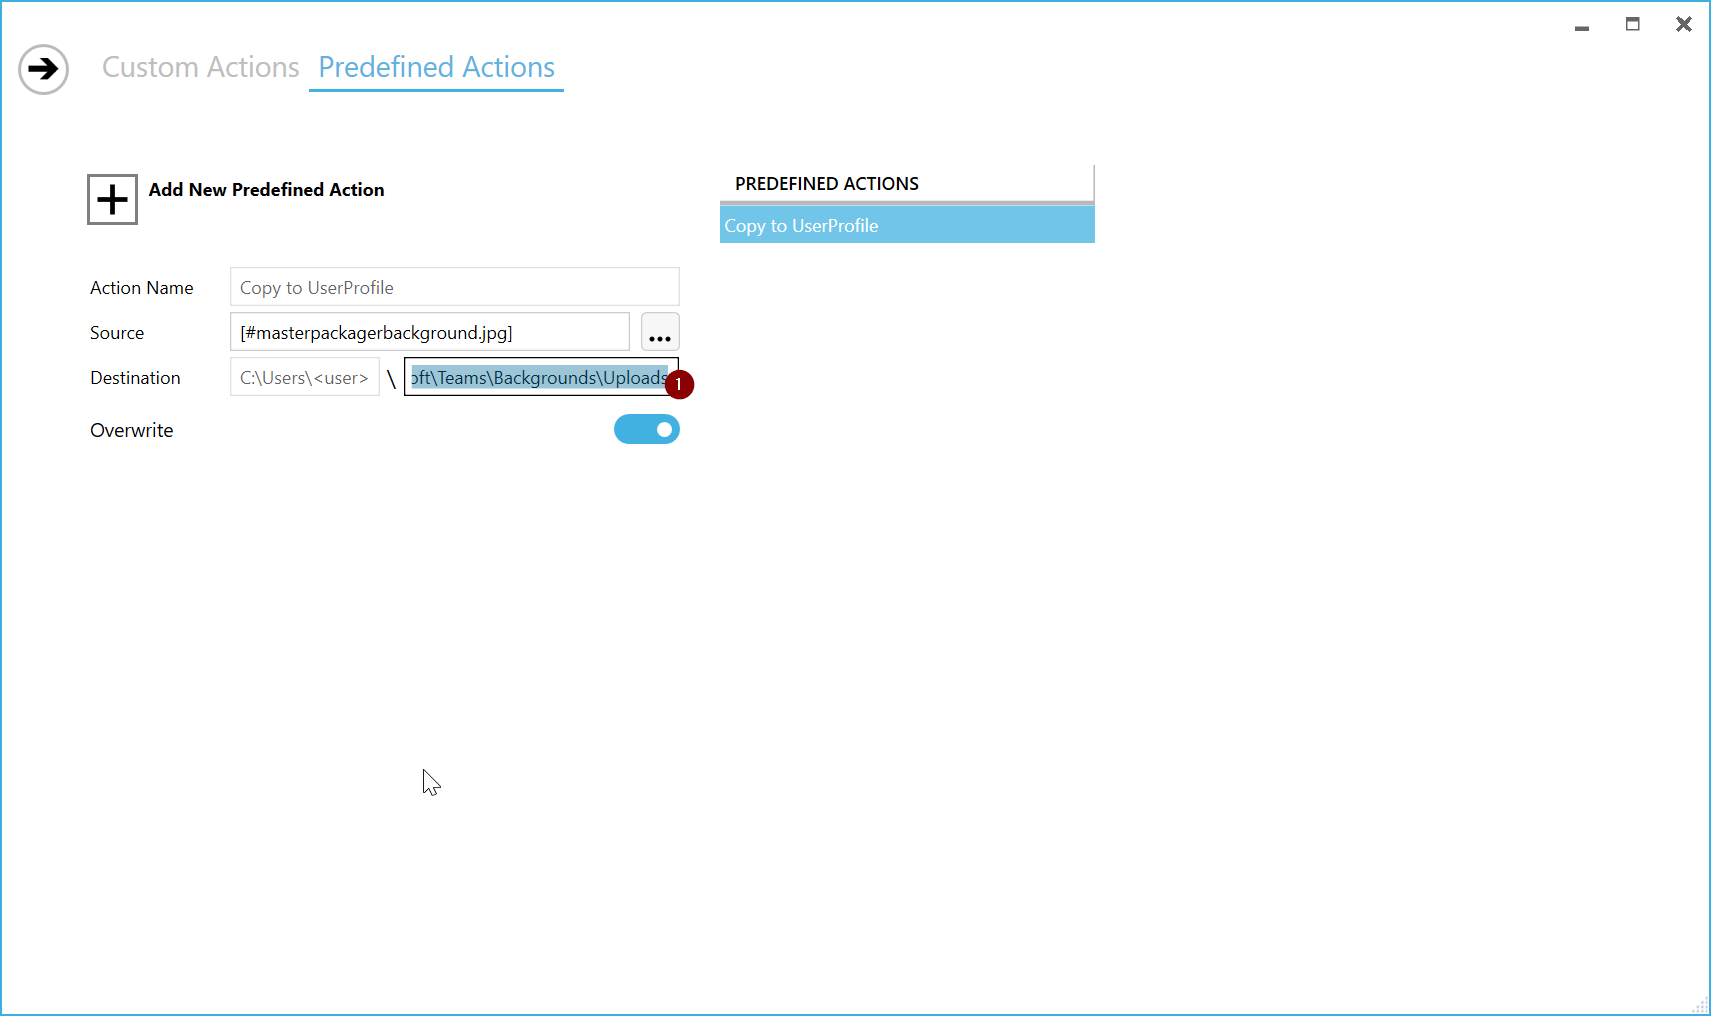
From the wonderful action list choose “Copy to UserProfile"
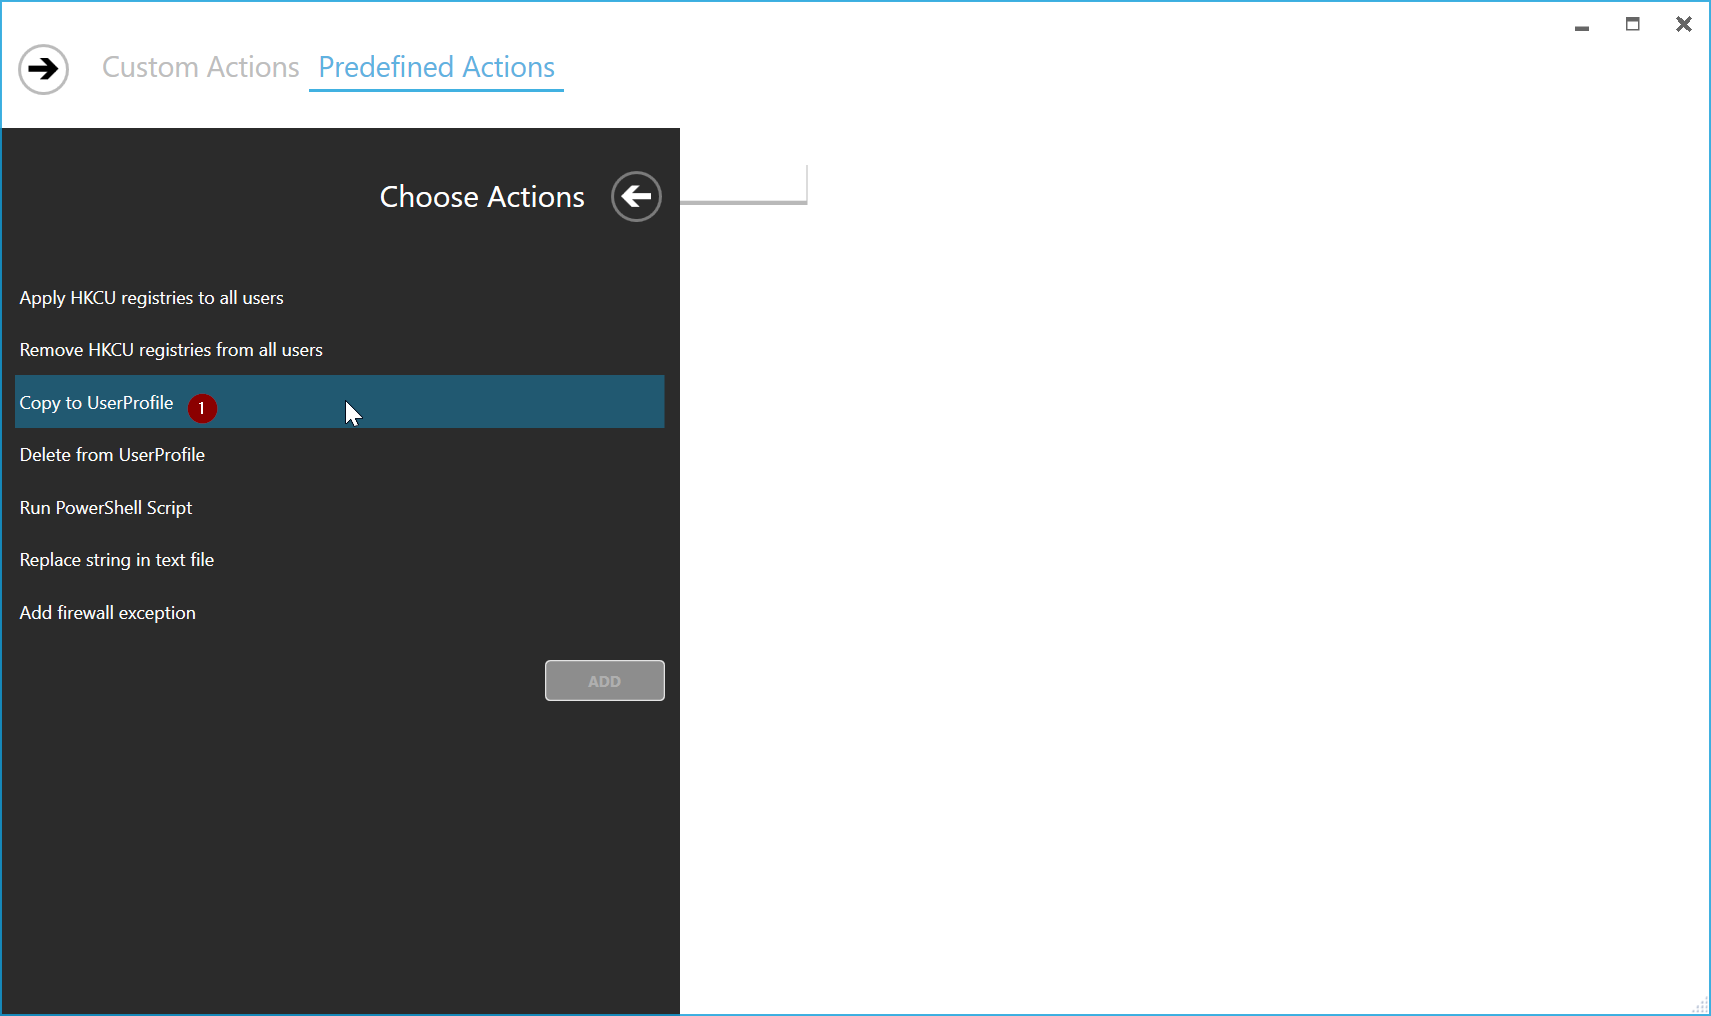
-
In the source section click on 3 dots and choose the file you wish to copy to the per-user location.
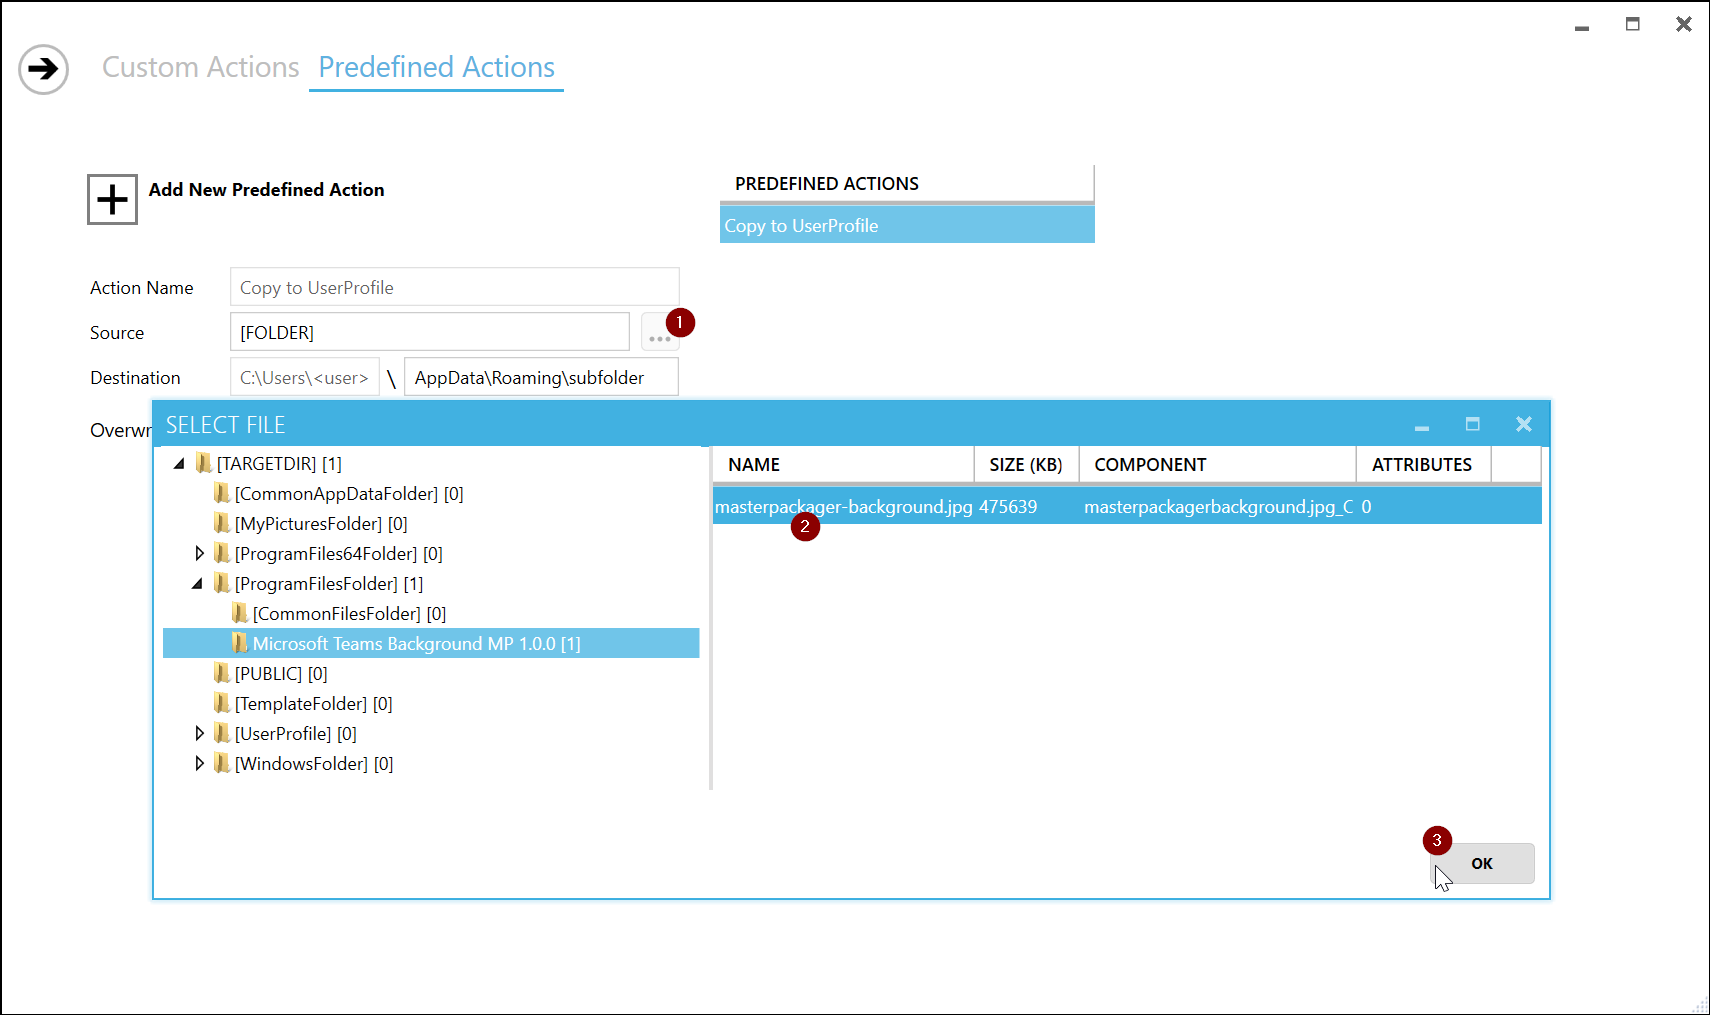
-
In the destination section paste the path where to copy the file after the C:\Users\<username>.
For Microsoft Teams background it is “AppData\Roaming\Microsoft\Teams\Backgrounds\Uploads"
-
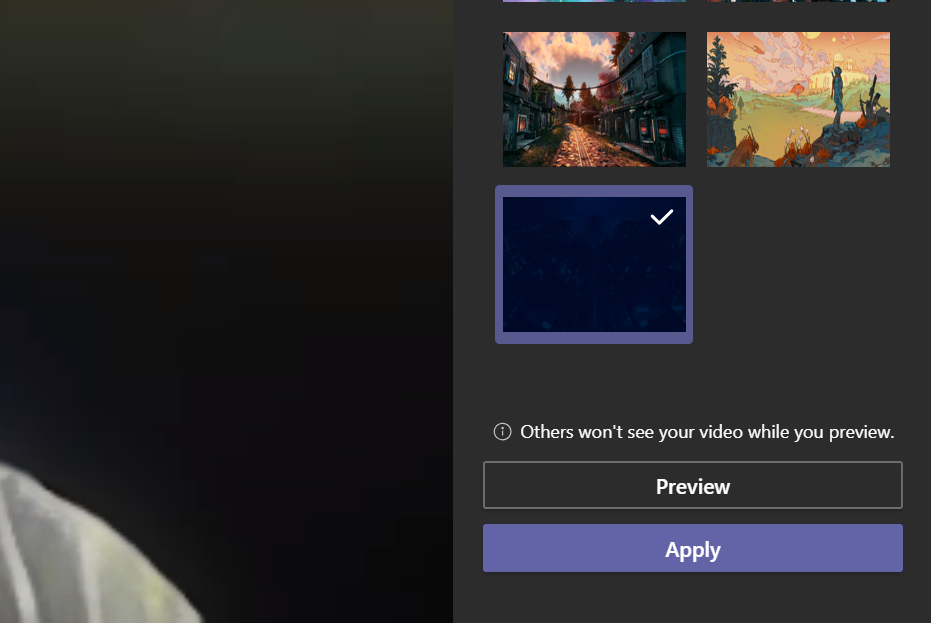
You can now save the MSI and use it for SCCM or Intune deployments to see how good it works.
Summary
Using Master Packager to copy files (we also support HKCU registry application) to a per-user location has the following benefits:
- It takes less than 5 minutes to create this MSI and anyone could do it without any experience
- It’s free for everyone
- Works under System context
- Changes are available immediately for all users
- The file is copied to the default user profile to support new users
- End-users have the best possible user experience
Please consider supporting us by purchasing Master Packager Profesional version that includes more advanced features including Master Repackager that can convert the most complex EXE applications to the MSI format.