Master Packager
Master Packager is an application packaging tool designed to create, edit, and customize MSI and MST installation packages.
With Master Packager, you can view all parts of an MSI, update file and registry entries, manage components and features, and configure custom actions. Advanced Editor provides a clear and organized way to work with these elements without needing to navigate MSI tables directly. When deeper control is needed, you can switch directly to the Table editor to access every MSI table without restrictions.
Advanced Editor
Advanced Editor provides views and controls to work with core installer elements such as general information, file and registry entries, features and components, shortcuts, custom actions, environment data, and predefined edit views without needing deep knowledge of MSI table relationships.
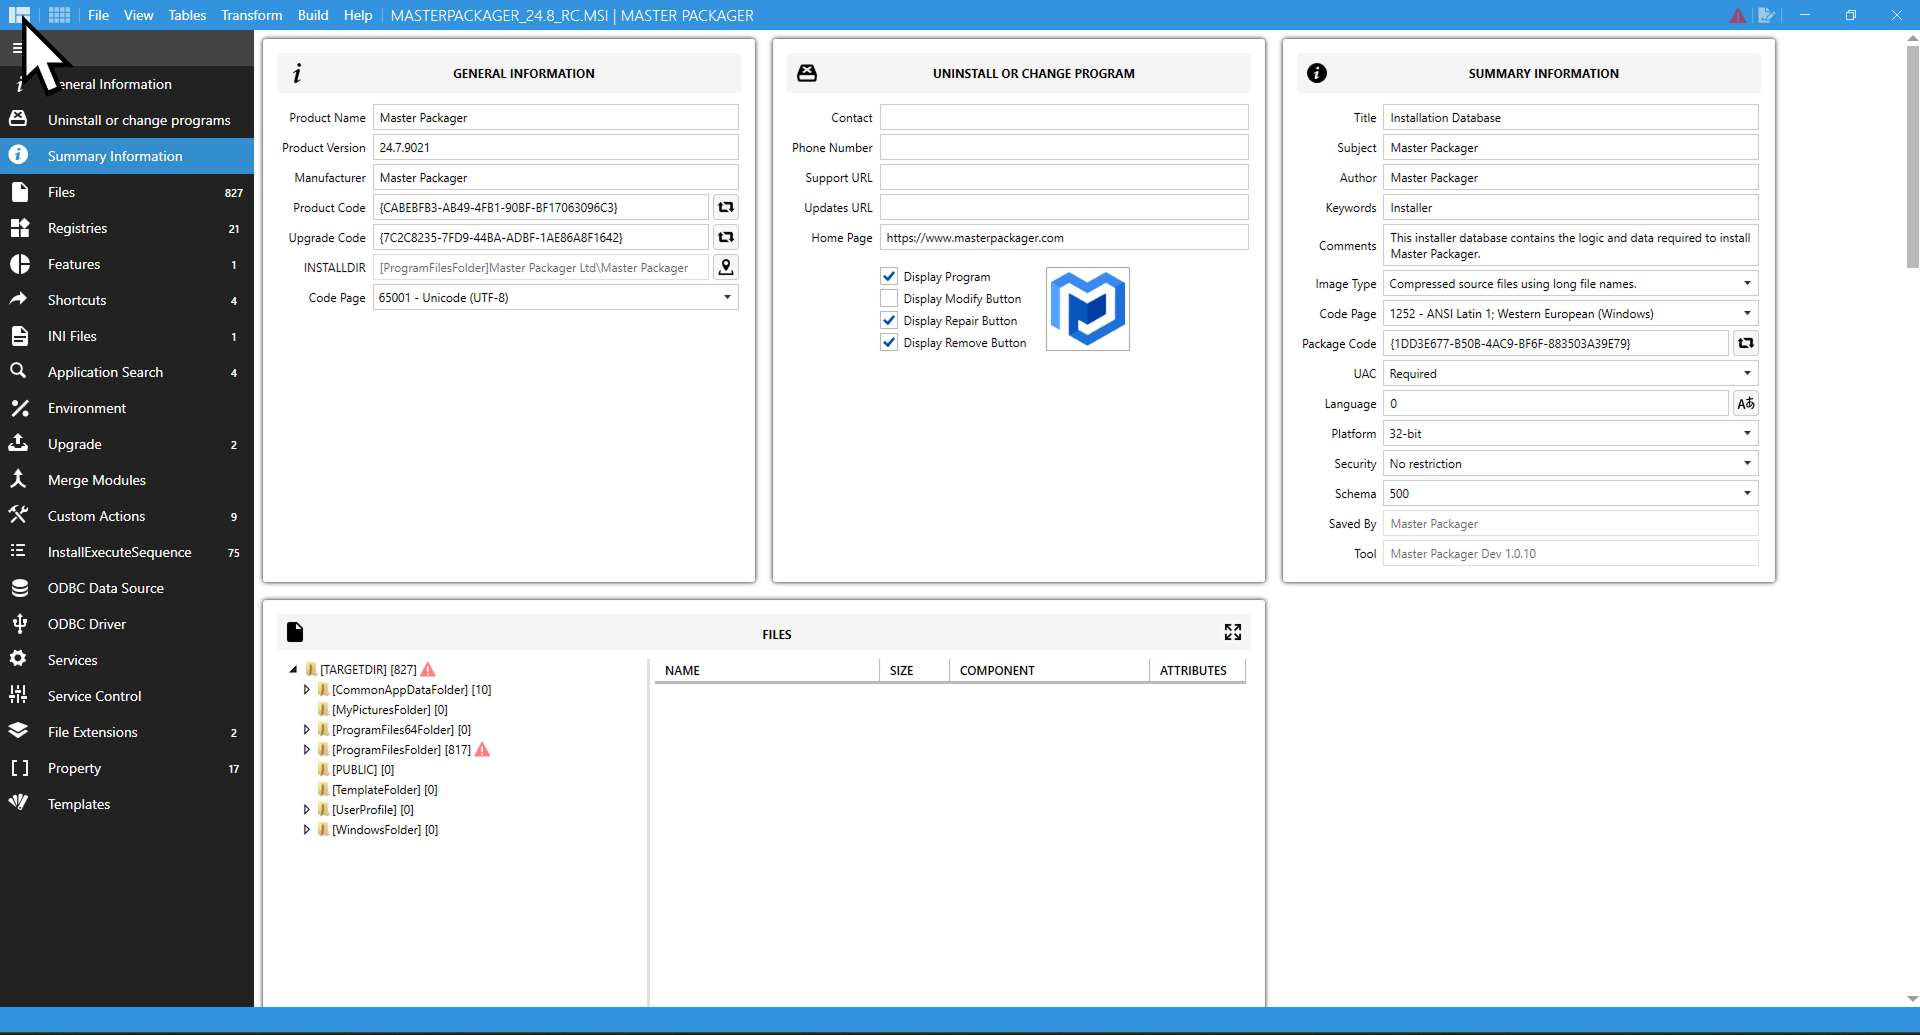
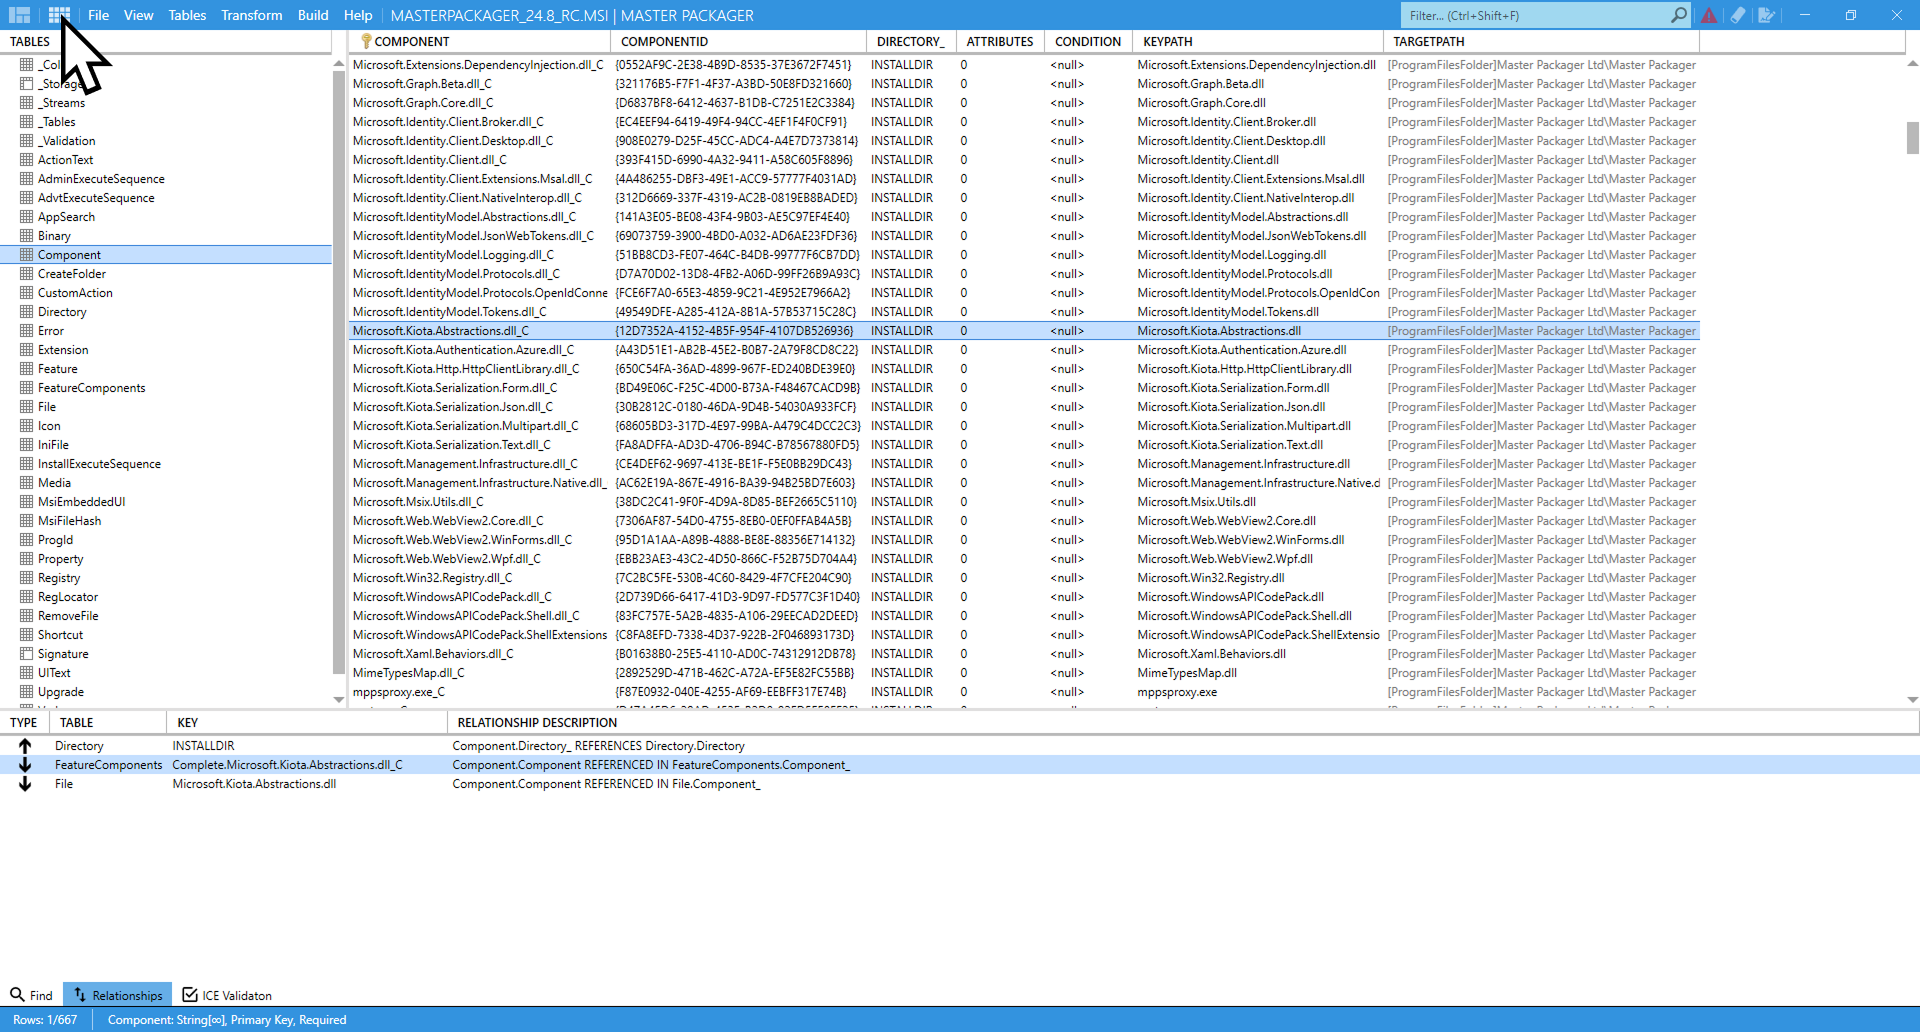
Table Editor
Table Editor provides direct access to all MSI database tables. Use it to view, edit, and manage raw table data, add or remove rows, customize schema, and adjust data that is not exposed through visual editor views.